Integration Guide: RentSyst + Wix Website
What You’ll Need:
- Active RentSyst account
- Wix website (Editor access)
- Rentsyst Agent with iFrame connection type
- Create new element with Embed code
- Shortcode rentsyst-booking-widget
Step-by-Step Instructions:
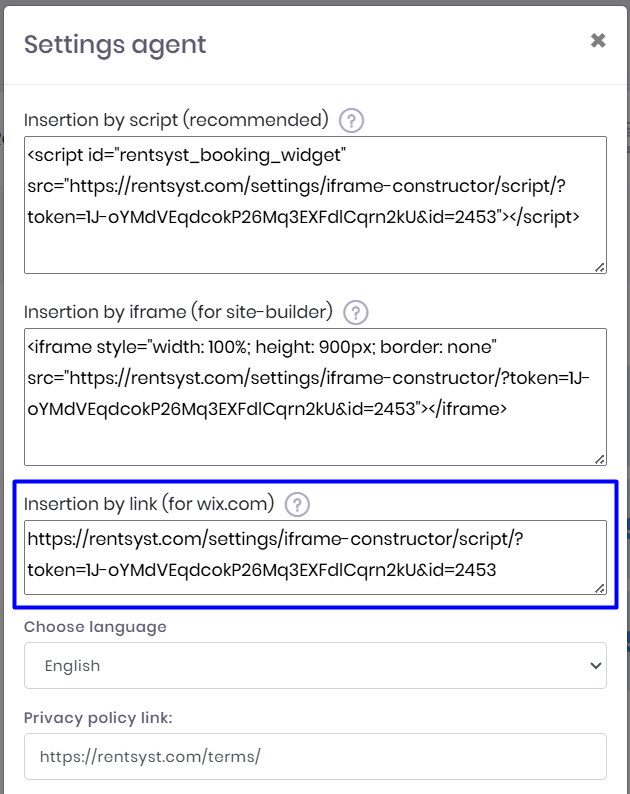
Step 1: Copy Your RentSyst Booking Link
- Go to your RentSyst Admin Panel
- Navigate to Integrations & Agents - create new Agent here with iFrame connection type.
- Copy the full URL of your public booking page designed for Wix editor
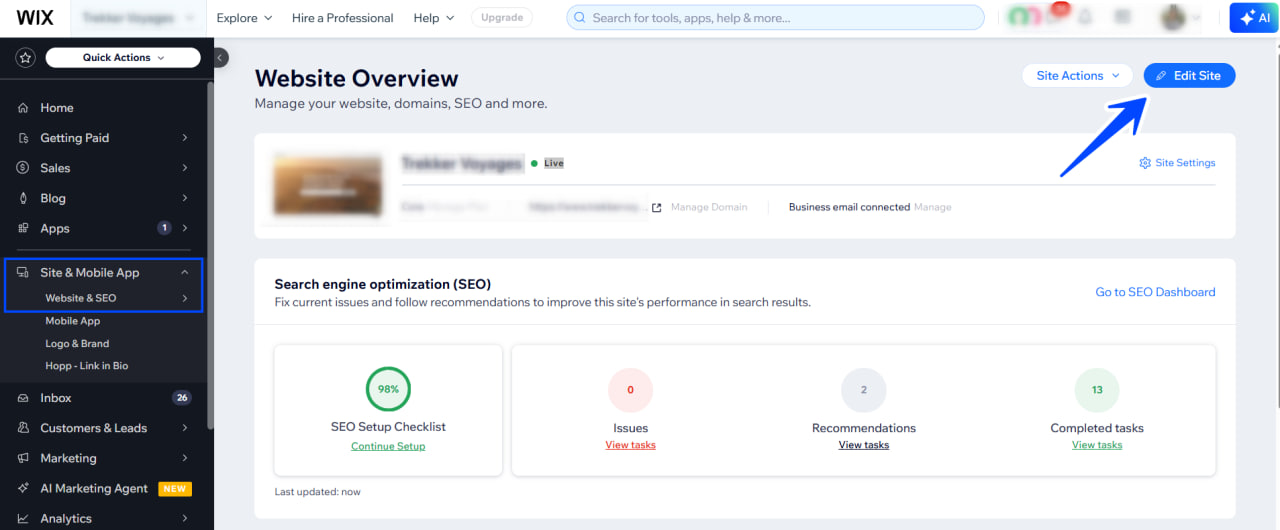
Step 2: Log in to Wix
- Open www.wix.com and log in.
- Go to your website’s Editor (choose your site → Edit Site)
Step 3: Add a new page or section
- In the Wix Editor, click the Menus & Pages section
- Click + Add Page (or select an existing page where you want the booking embedded)
- Name it something like “Book Now” or “Reservations”
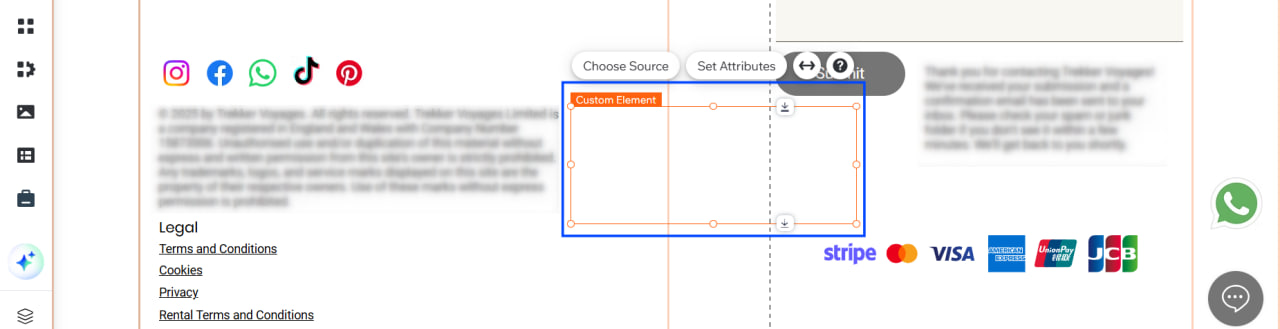
Step 4: Add an Embed Element
- Inside the new page, click + Add (left sidebar)
- Select "Add Element": Embed Code - Custom element
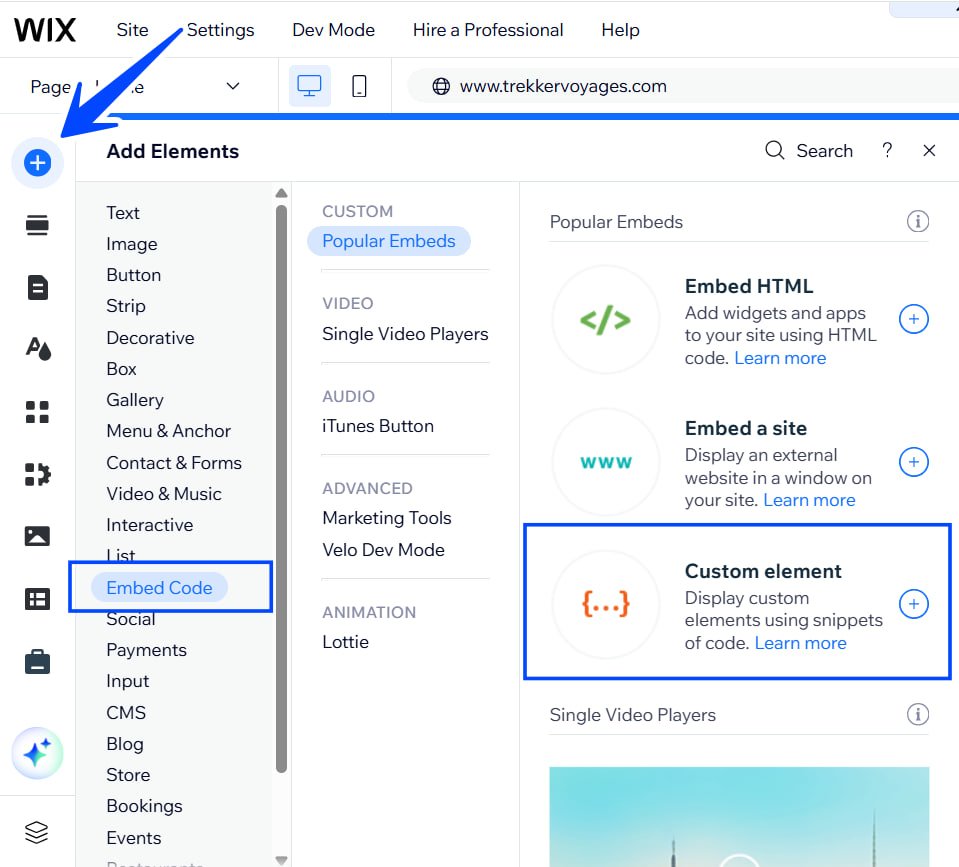
3. Choose Embed HTML iframe
4. Resize the block as needed to fit the page layout
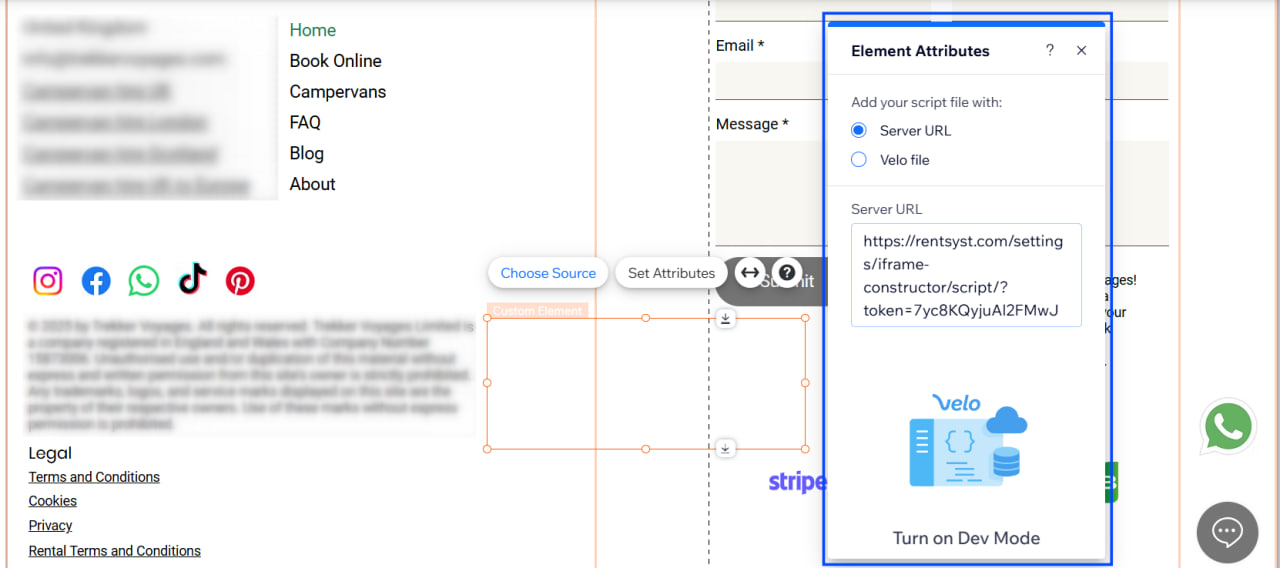
Step 5: Paste Your RentSyst Link
- Click on the embed block → Settings
- Choose Enter Code
- Paste the following code (replace the link with your booking page URL):
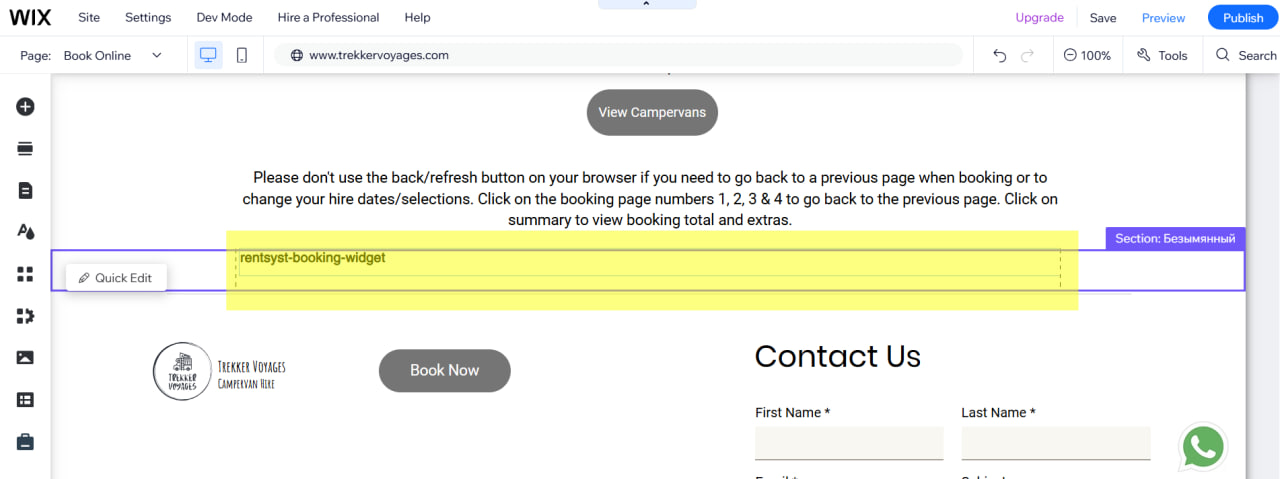
Step 6: Paste booking shortcode.
Add new component as a simple text. Place a shortcode rentsyst-booking-widget on your reservation page, where you would like to see the final booking page.
Adjust the height and width value if needed to fit your page length or avoid margins.
Step 6: Preview and Publish
- Click Preview to test the booking page integration
- If everything looks good, click Publish to go live
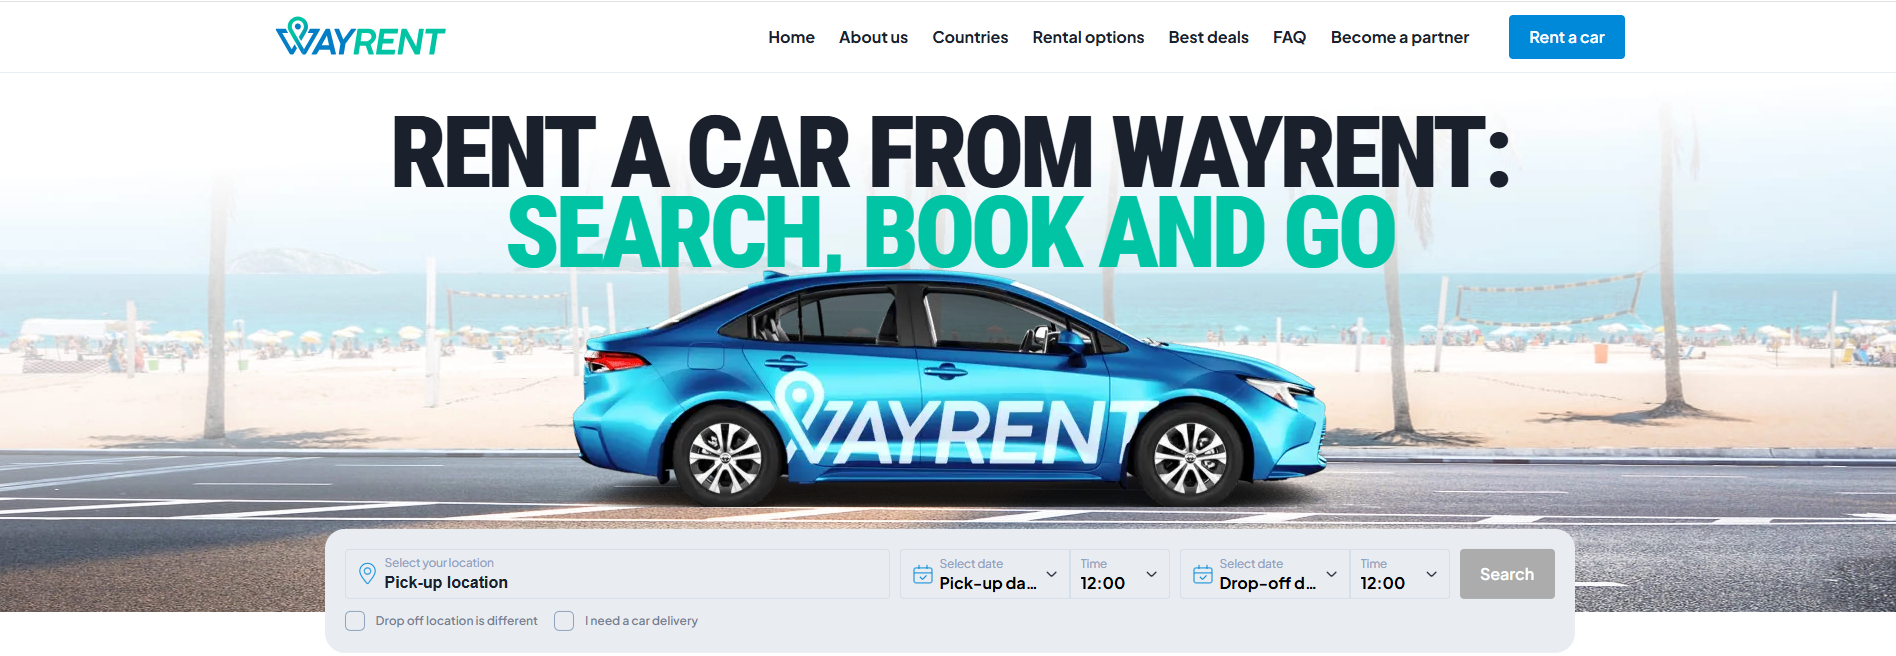
The booking page is ready!
Now your RentSyst booking system is live on your Wix site — customers can browse your fleet, check availability, and complete bookings directly from your website.