
Connecting your RentSyst account to XERO Accounting allows for seamless synchronization of invoices, payments, and financial records — helping you save time and reduce manual entry.
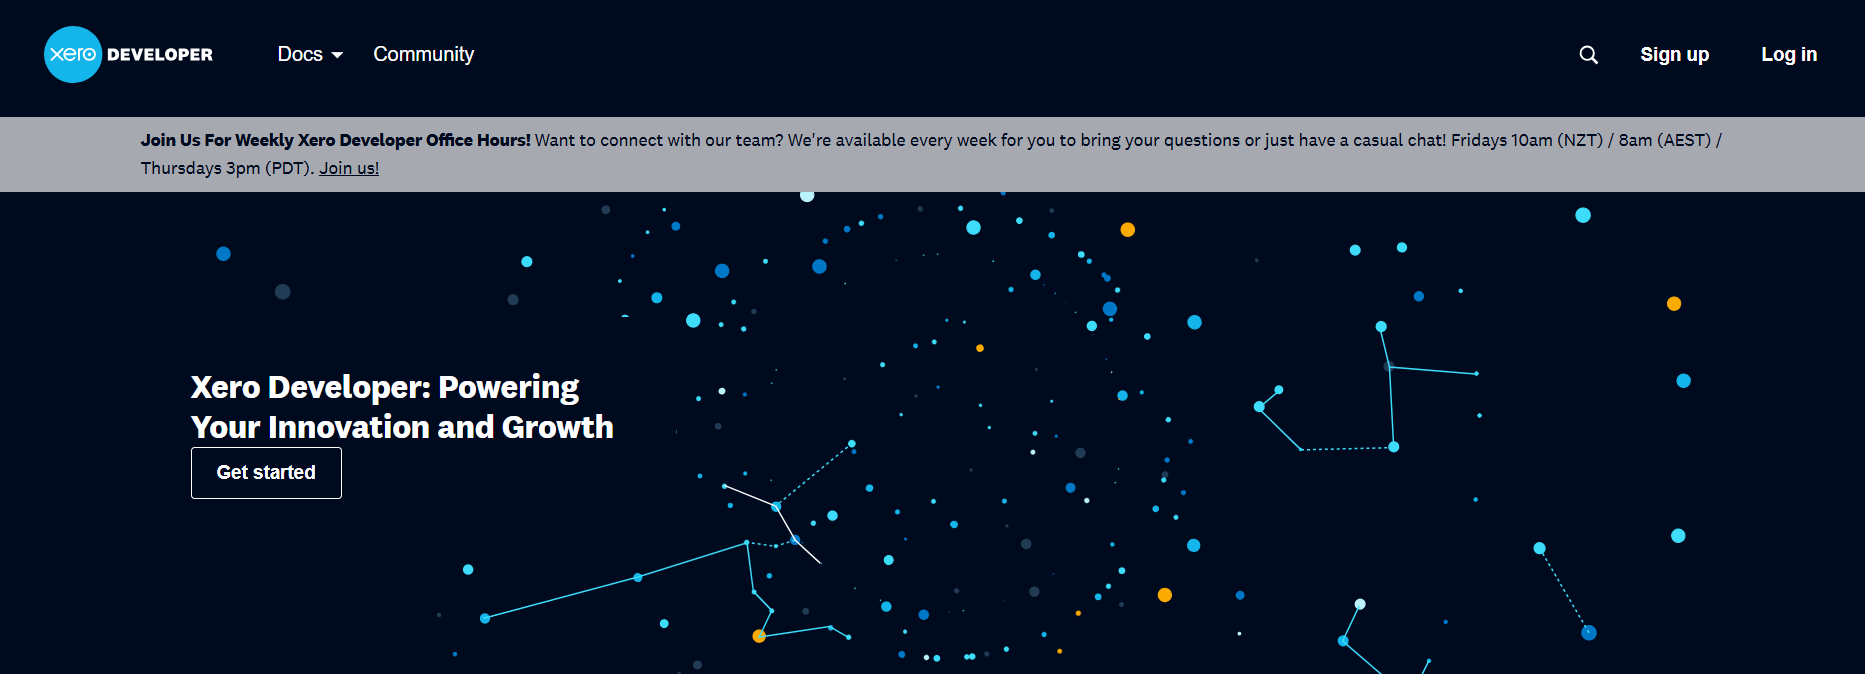
1.1. Visit: https://developer.xero.com
1.2. Log in using your Xero account
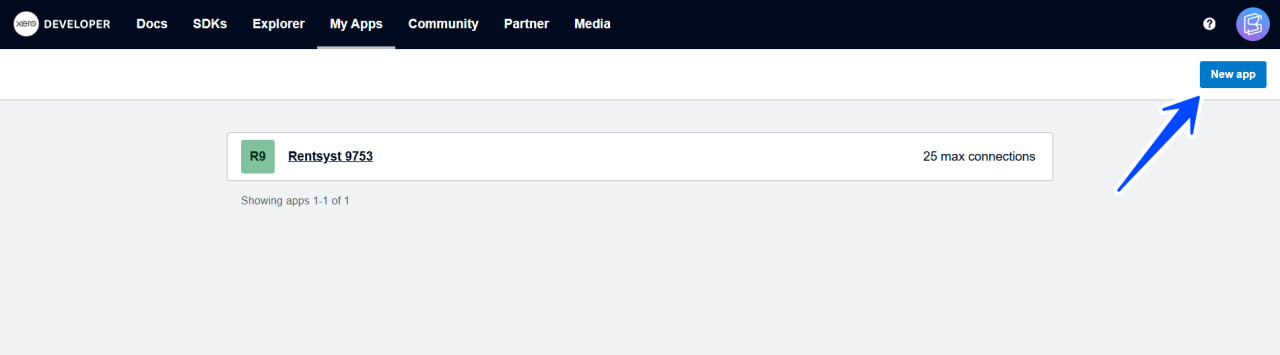
1.3. Click “My Apps” in the top menu
1.4. Select “New App”
2.1. App name: e.g., RentSyst
2.2. Integration type: Web app
2.3. Company URL: https://rentsyst.com
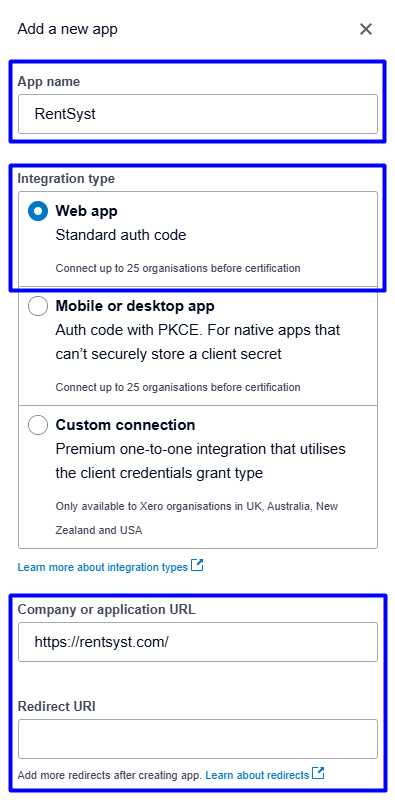
2.4. Redirect URL: follow to your RentSyst account – Settings – Integrations & Agents – XERO:

Open XERO window:
Finish your App data filling and Click “Create app”.
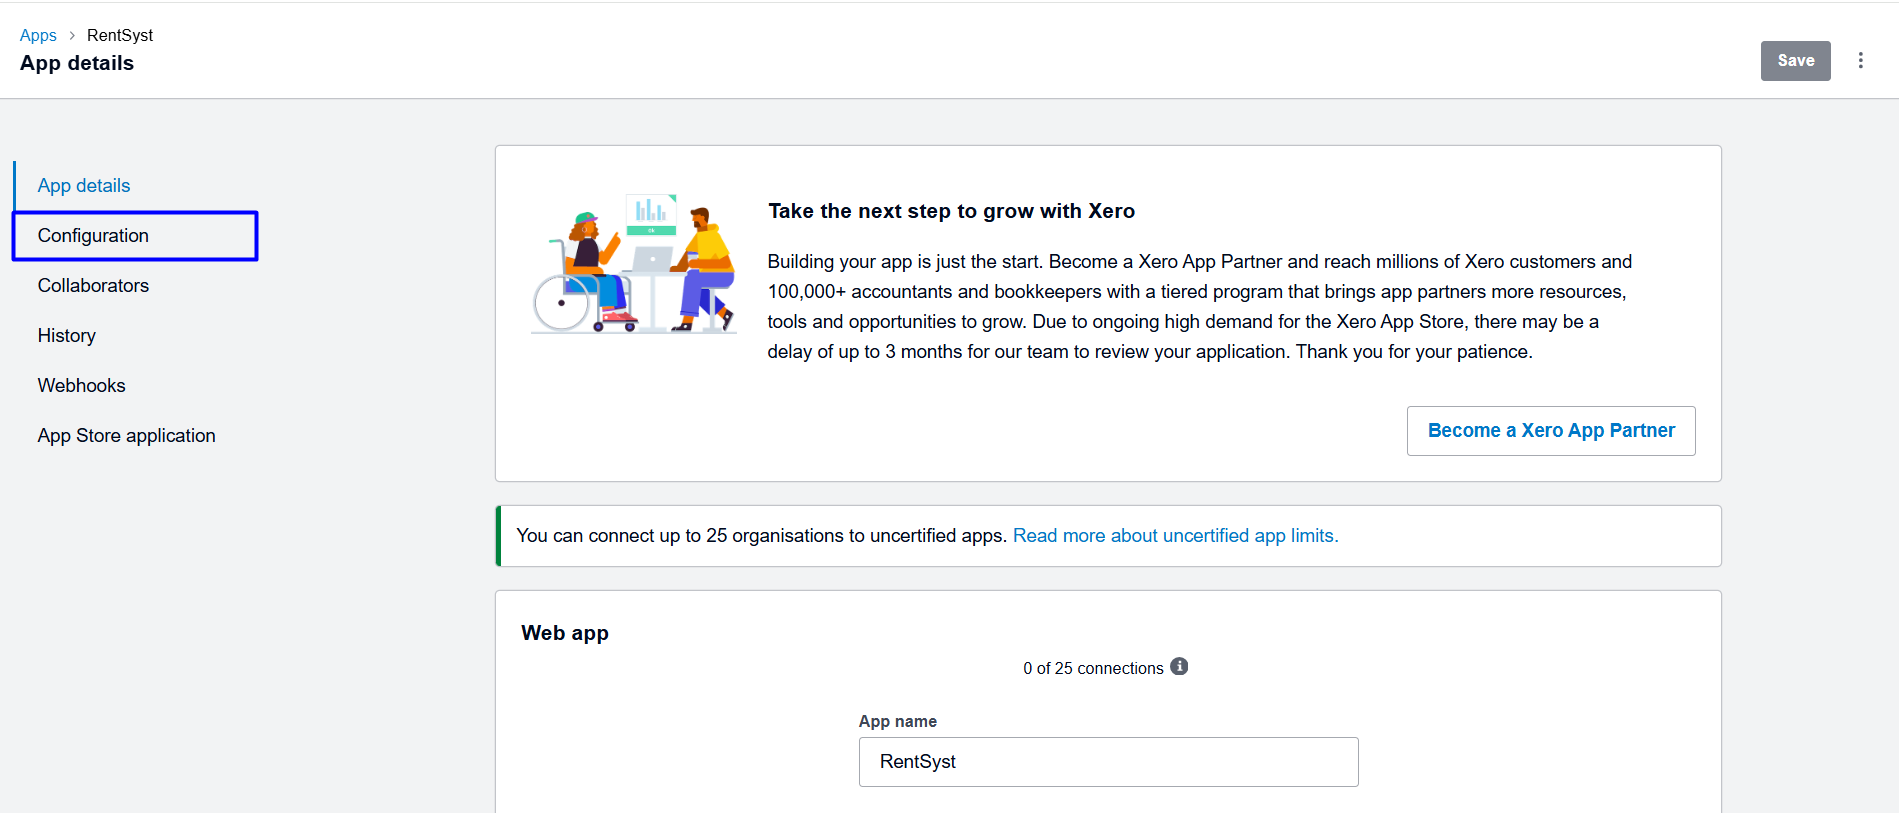
3.1. Now, inside App – follow “Configuration” tab:
3.2. You’ll be provided with:
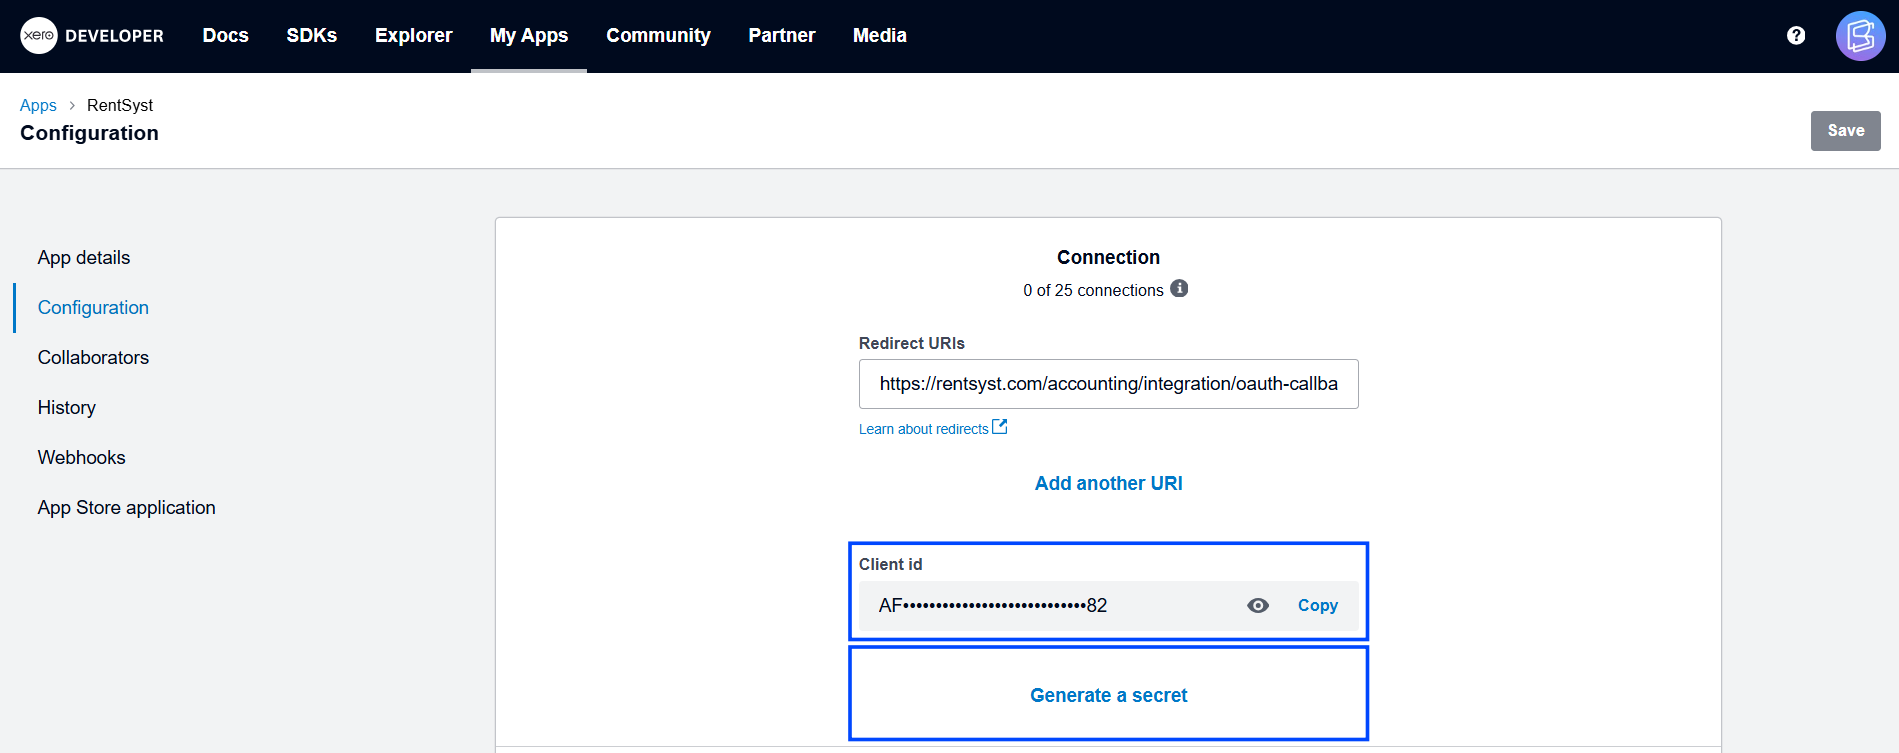
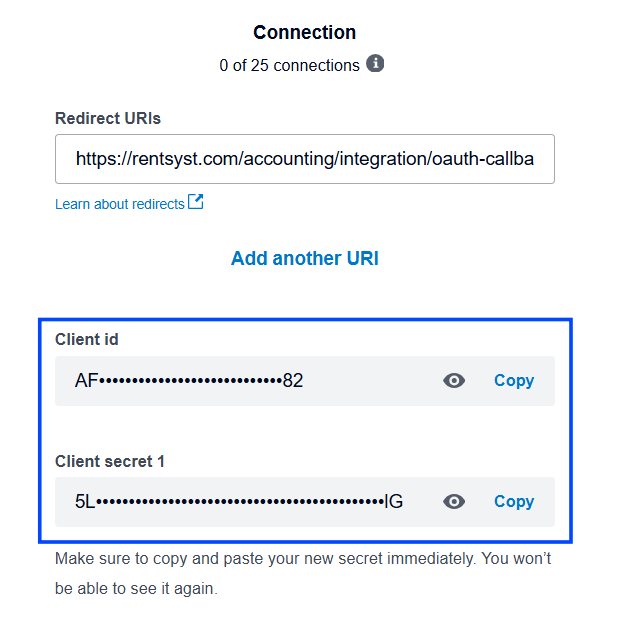
3.3. Copy and save these values securely — you’ll need them in the next step.
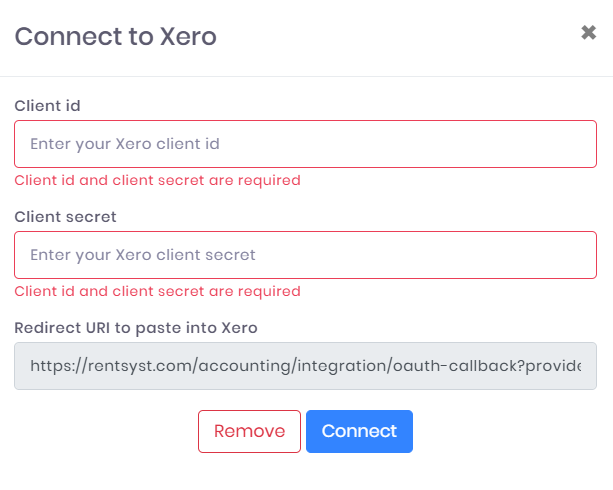
4.1. Log in to your RentSyst Admin Panel
4.2. Go to Settings > Integrations > Xero
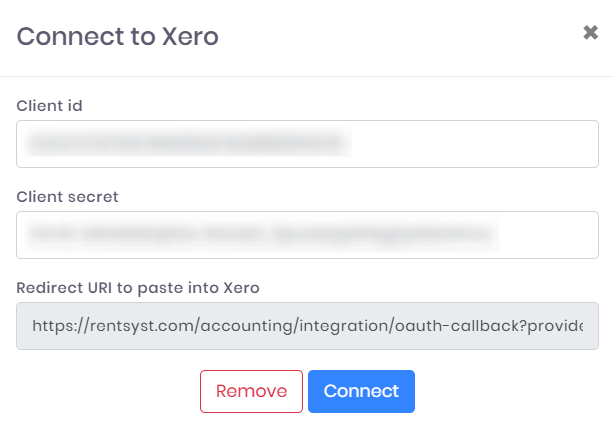
4.3. Paste the Client ID and Client Secret
4.4. Click “Connect” – you will be redirected to Xero to approve the integration
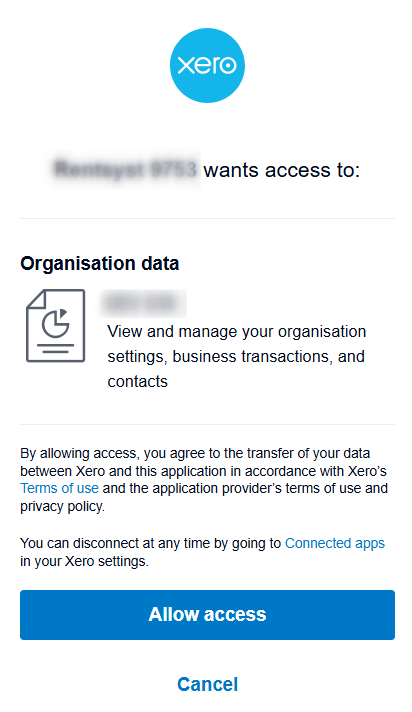
4.5. Grant permission to allow RentSyst access to your Xero organization
5.1. Choose whether to sync Invoices, Payments, or Maintenances
5.2. Map RentSyst fields (e.g., taxes, customer names, invoice numbers) to Xero
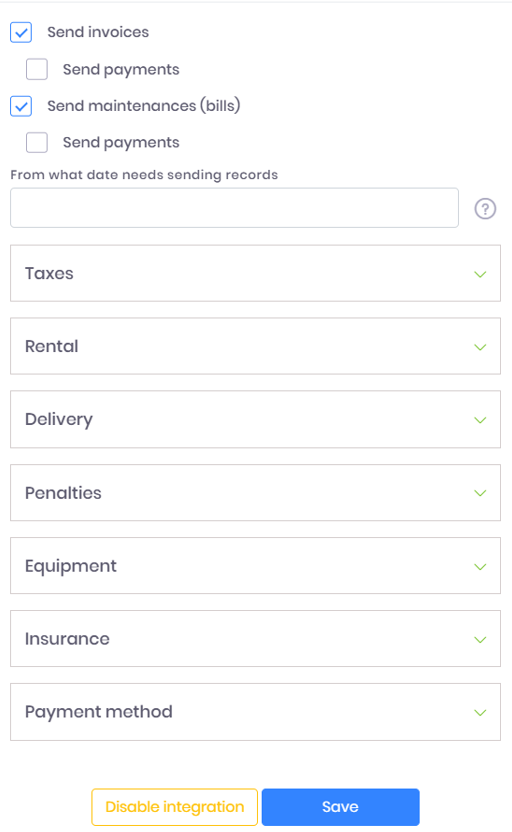
5.3. Here is a sample how complete mapping should looks like – all product should be linked:
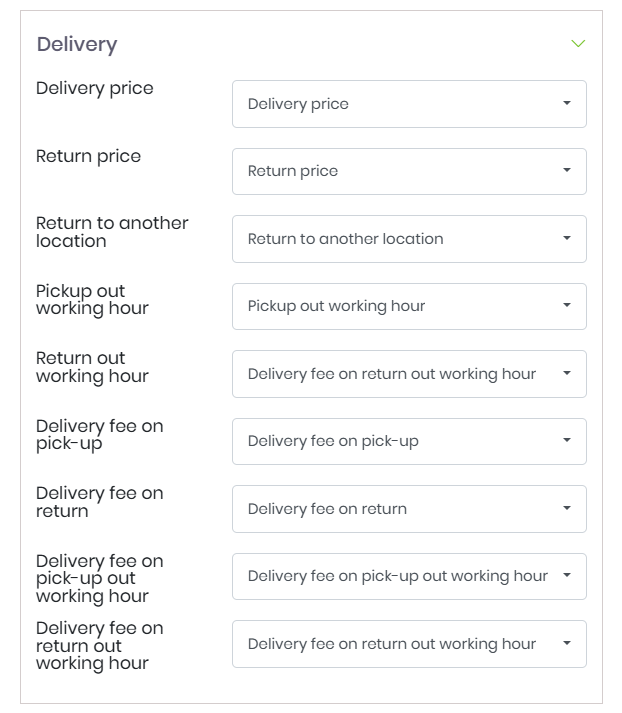
Delivery category:
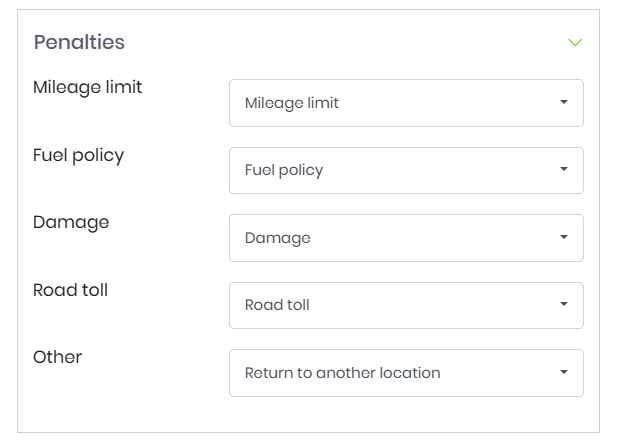
Penalties category
Equipment category

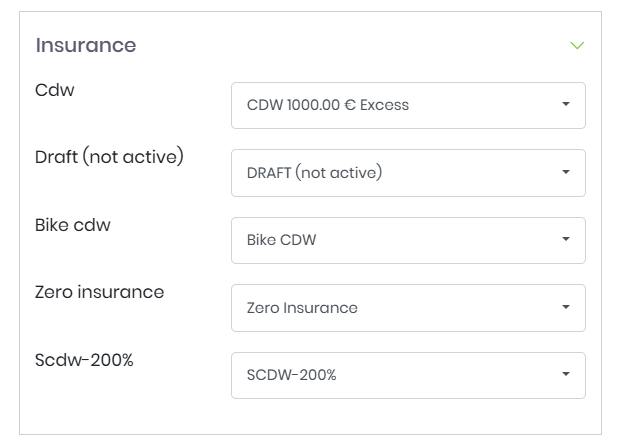
Insurance сategory
Payment method category
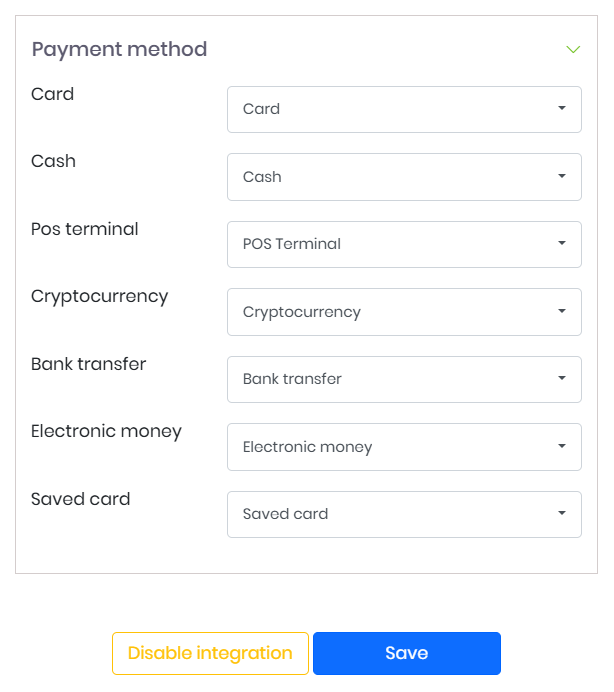
5.4. By clicking the SAVE button, XERO integration is completed!
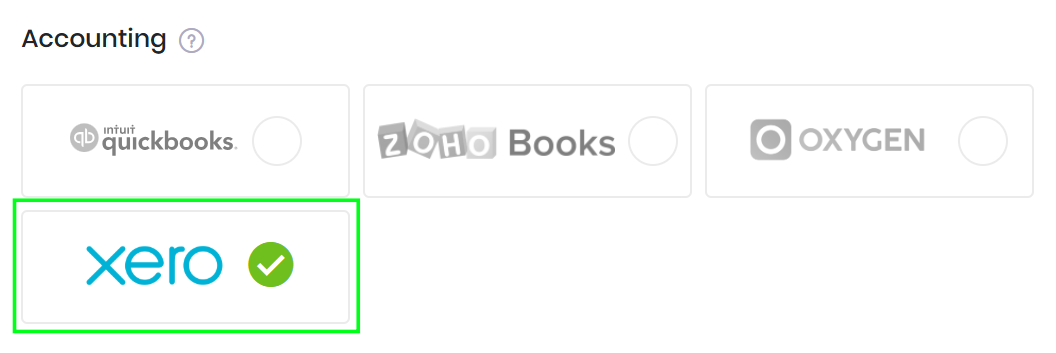
6.1. All set. XERO Accounting has been successfully integrated.
6.2. Now your Invoices will be sended to XERO automatically after the status of the order is changed to “Done”.
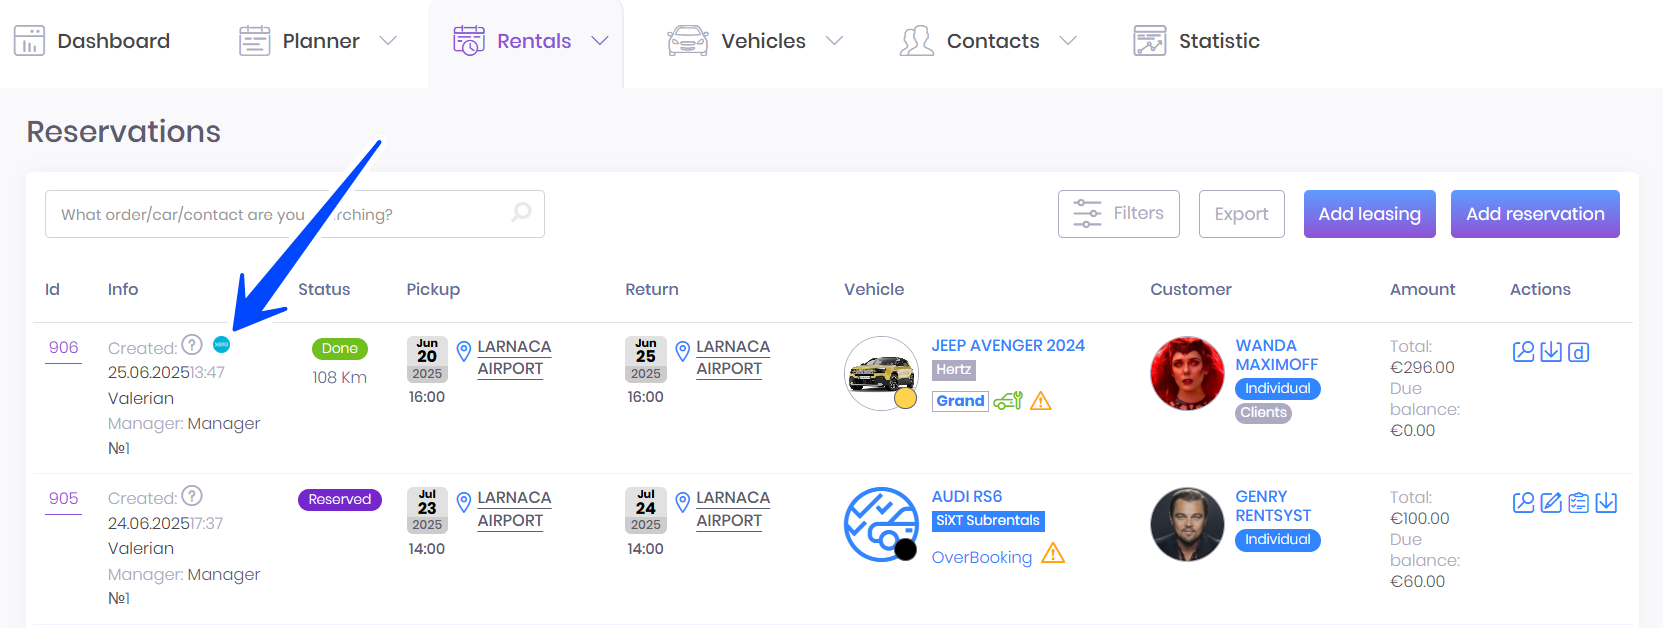
6.3. You will see XERO icon nearby the reservation:
– if XERO logo is highlighted grey – means Invoice was not sended
– if XERO logo is highlighted blue – means Invoice was successfully delivered into XERO
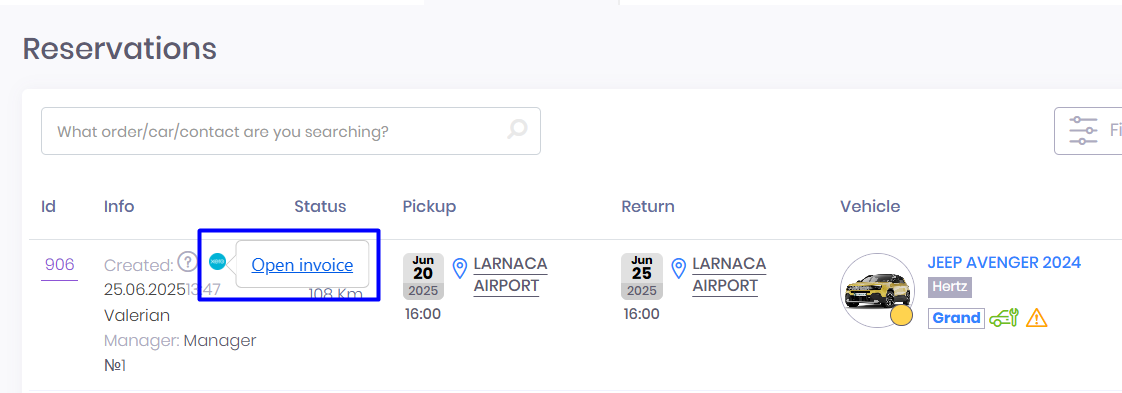
6.4. You can also open Invoice on your XERO side directly from Rentsyst as well.
Once connected, your accounting workflow becomes simpler, faster, and error-free — giving you more time to focus on growing your rental business.
If you need assistance during setup, RentSyst Team will be happy to help!
Thank you!
Your email has been added to our database. Now you will be the first to receive interesting news about your business.