
By connecting JCC’s payment gateway with RentSyst you gain:
1.1. Please register and verify your JCC account.
1.2. Account should be active, so you be able to generate payment links and received cars transactaions.

2.1. Apply for a merchant account with JCC payment system.
2.2. Login to your account.
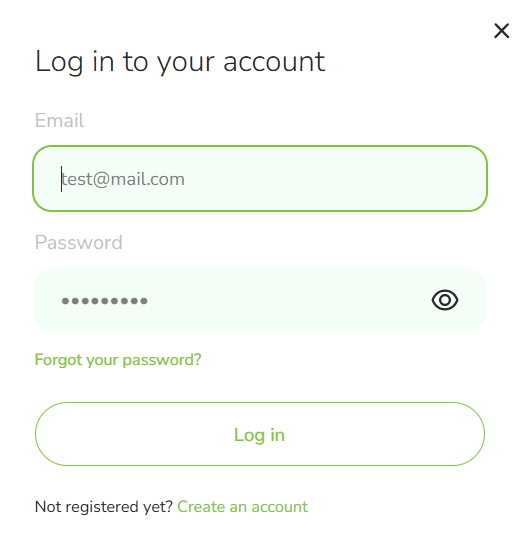
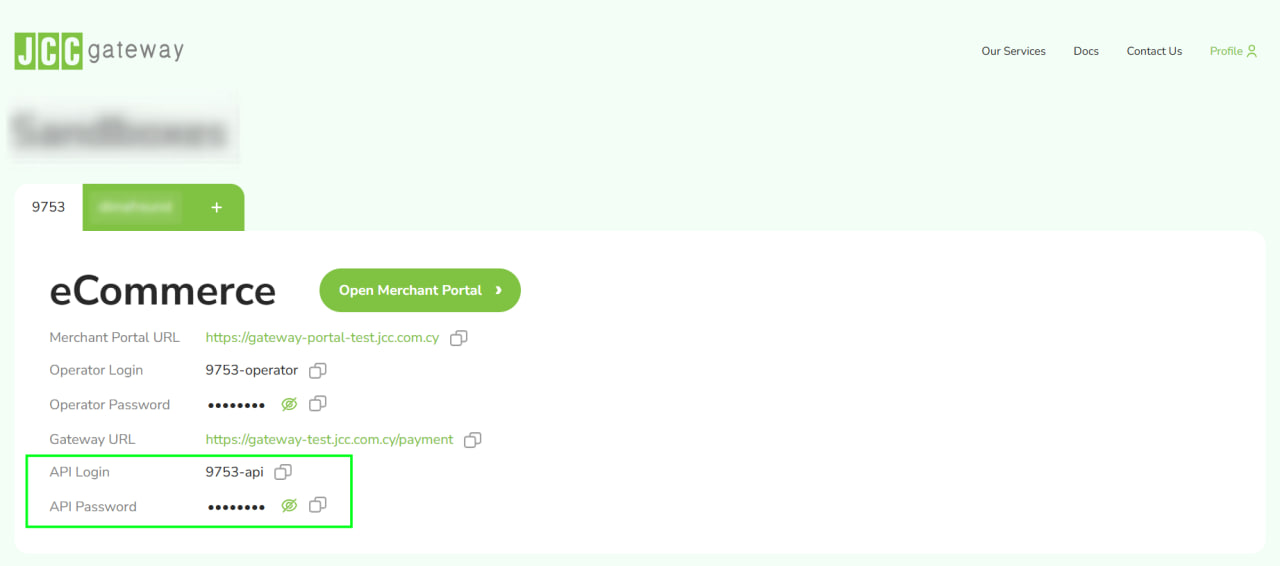
2.3. Get credentials from account (you need to create a new merchant here if you dont have any yet).
Your credentials is API login and API Password. Please copy them and move to step 3
3.1. Log into your RentSyst Admin Panel → Settings → Integrations & Agents.
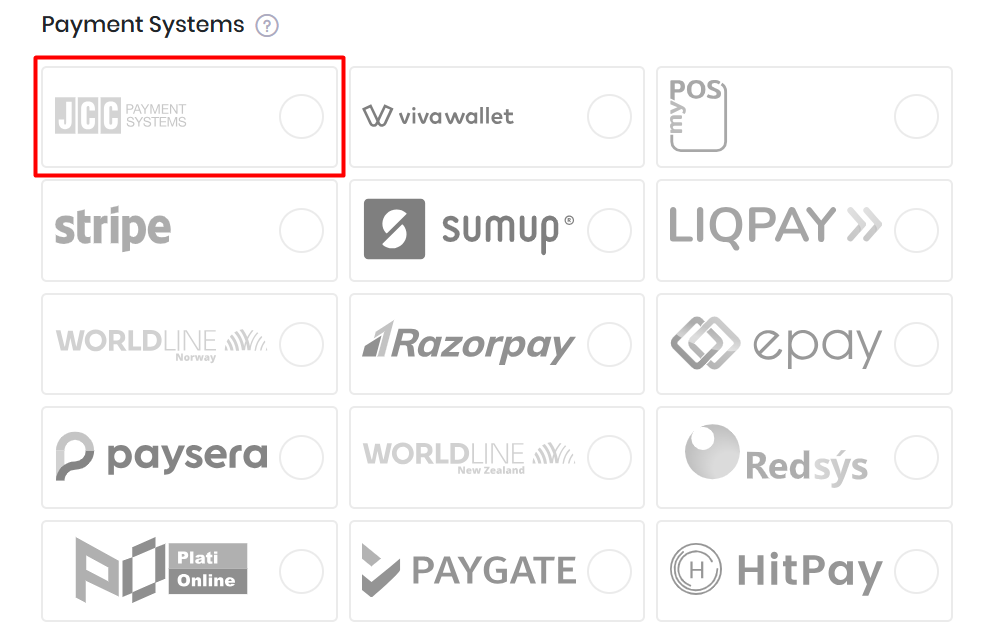
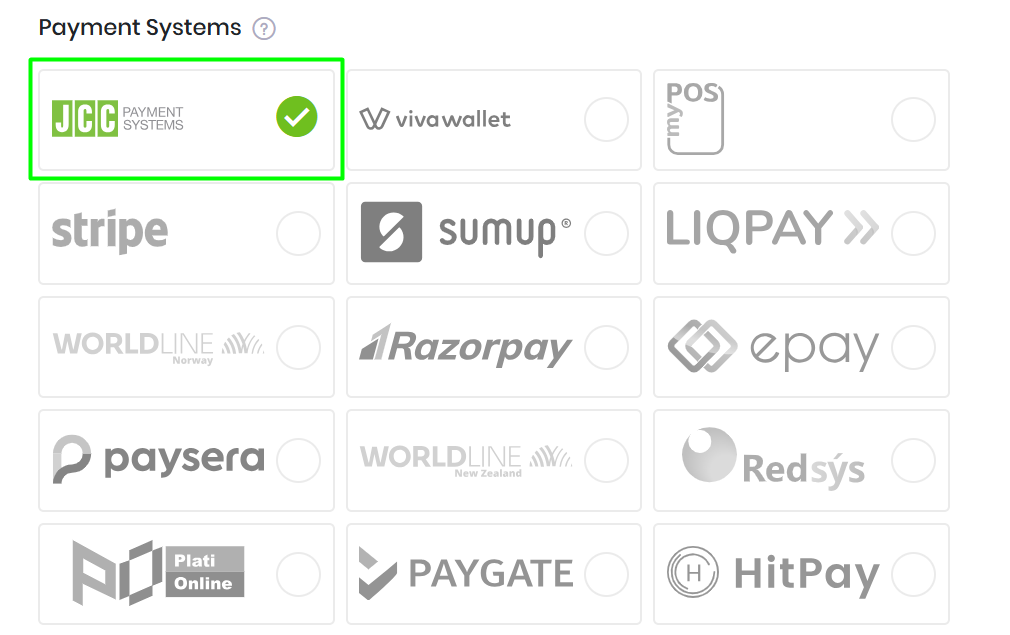
3.2. Select JCC Payment Gateway as your card processor
3.3. Enter your credentials: API login and API password. Disable “Test mode” and activate “Enable”.
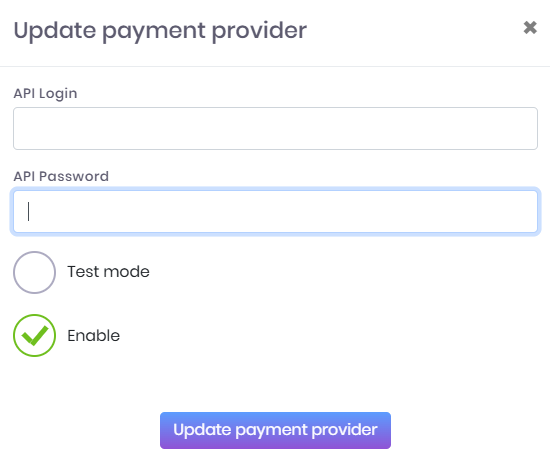
3.4. Once you press “Update payment provider”, you will see JCC icon will be active.
4.1. Now your payment integration is ready to go live.
We recommend to create a test order and generate payment link to make sure all works smoothly.
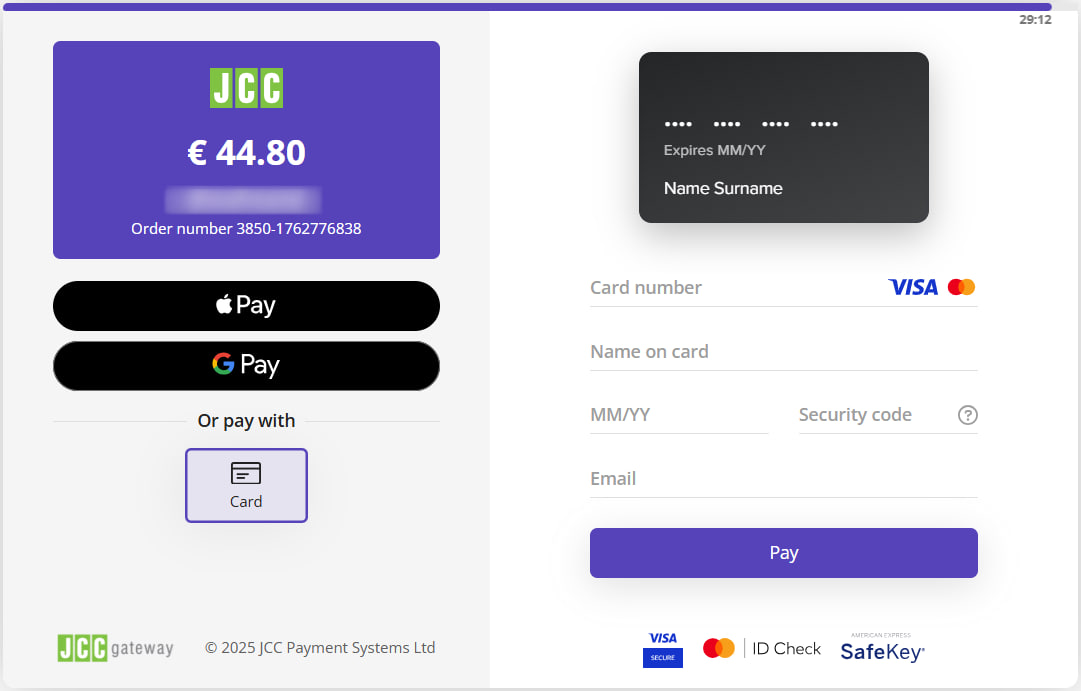
4.2. When payment link generated, here is a sample how it may looks like:
If you have any questions about integration with JCC, please feel free contact RentSyst Support Team for any questions.

Thank you!
Your email has been added to our database. Now you will be the first to receive interesting news about your business.