
First Atlantic Commerce (FAC) is now officially rebranded as Powertranz.
If you previously worked with FAC, the integration flow remains similar, but credentials and endpoints are now managed under Powertranz.
To connect Powertranz with RentSyst, you will need the following details from your merchant account:
Make sure following credentials are provided by your Powertranz account manager or support team:
This creds you will be able to create on Merchant account directly:
1. Log in to your RentSyst Admin Panel
2. Go to Settings → Integrations & Agents → scroll to Payments
3. Select Powertranz (FAC) from the list of payment gateways
4. Now on separate browser page enter your Powertranz Merchant portal
Go to https://admin.ptranz.com/portal
Enter your login credentials to access your dashboard.

5. Inside Merchant Portal select Admin → Hosted Payment Pages:
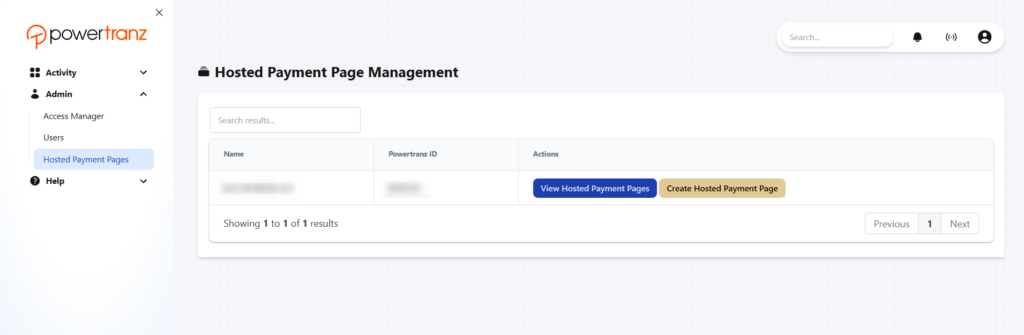
5.1. Here you will create your Hosted Page Set and Hosted Page Name credentials.
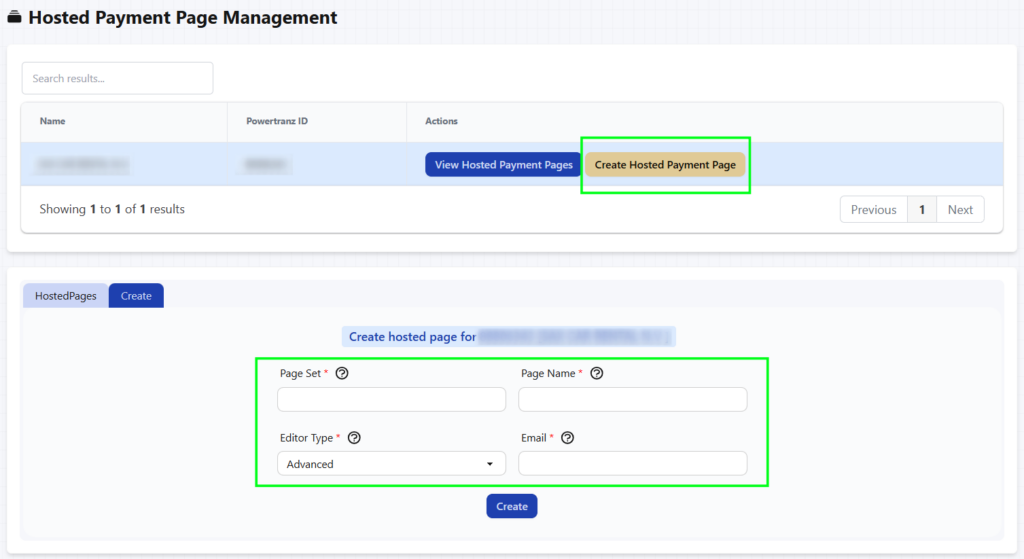
5.2. Click on “Create Hosted Payment Page” (orange one). Here you may set any name you want, for your convenience we recommend to use following:
Page Set: rentsyst
Page Name: rentsyst
Editor type: Basic or Advanced (up to your preference)
Email: your company email
5.3. Click “Create”.
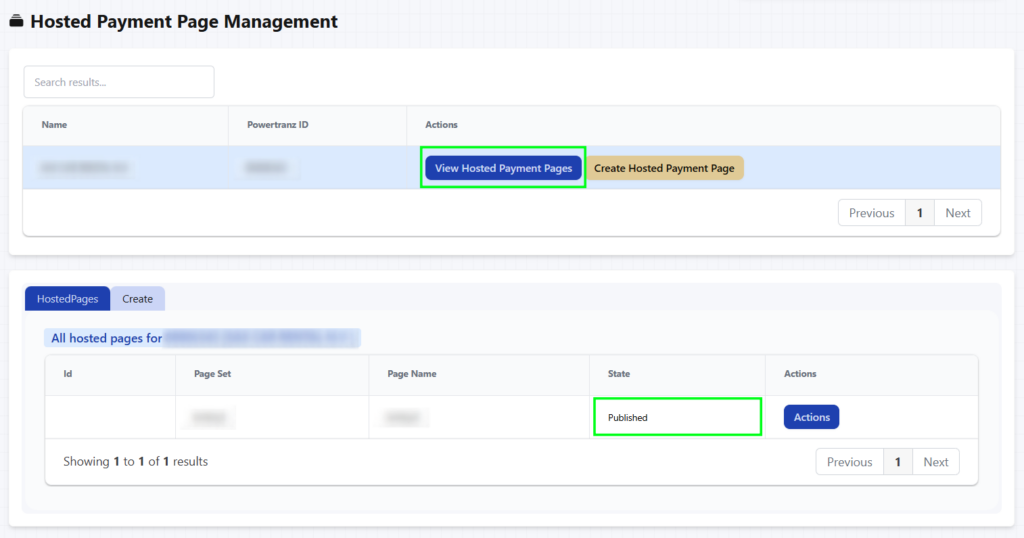
5.4. Next click here “View Hosted Payment Pages” (blue one) and copy your
Make sure it has “published” status.
6. Go to Rentsyst Admin panel – enter all required credentials:
7. Enable Test Mode (recommended for initial setup and testing)
8. Save settings. Your Powertranz icon will be active now
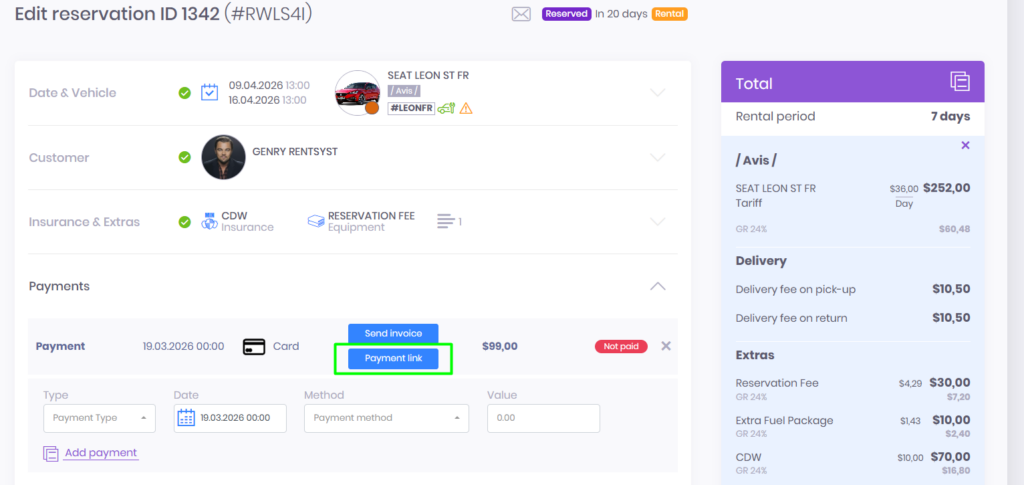
9. Make a test payment link to make sure integration works properly.
Using the card payment method inside the reservation, create a payment and open the link.
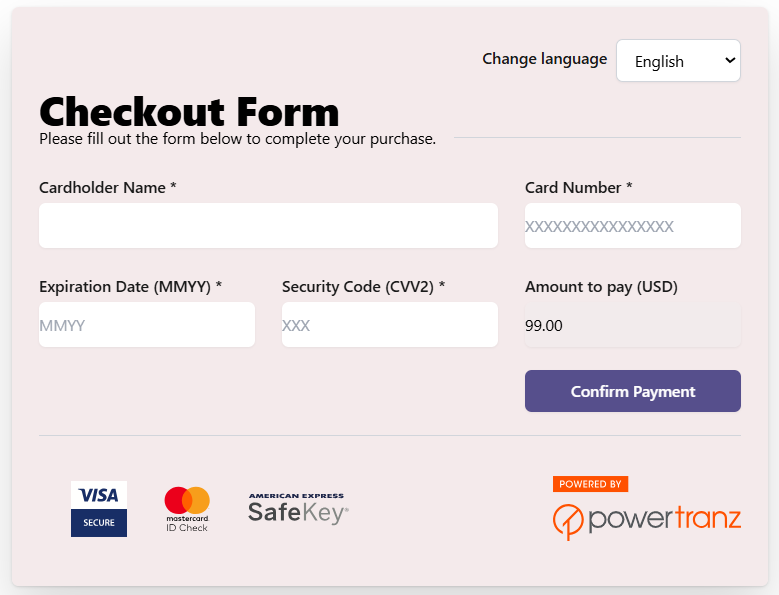
10. Link should be open on Powertranz security link

Once testing is complete:
If you need help with credentials or testing, contact your Powertranz provider. Be sure to include your Powertranz ID for efficient assistance.

Thank you!
Your email has been added to our database. Now you will be the first to receive interesting news about your business.